
Among other things, one major difference between spacecraft and airplanes is that spaceships cannot use wings in the vacuum of space. They can only use thrusters to adjust orientation and velocity. Typically there are thrusters to move along each axis (up-down, left-right, forward-backward) in a straight line, and then there are thrusters to change the orientation of the spacecraft.
To make the ship move along an axis without any rotation (this is called translation, in maths and physics), it is critical that those thrusters be aligned exactly with the center of mass (CoM) of the spacecraft. If the thrusters are out of line by even a fraction of a percent, it will cause the ship to rotate. Because SimplePlanes, for some reason, doesn't have a button to give you the coordinates of the CoM, we need to find another way.
One way would be to build the ship first, then move the thrusters in line with the CoM, nudging them so that they're in line with the red CoM lines. The downside is that visual alignment/nudging is never precise, so you will spend a lot more time in the XML, changing numbers to six decimal places. Another problem with this approach is that if you need to change your build, you need to align the thrusters with the new CoM all over again.
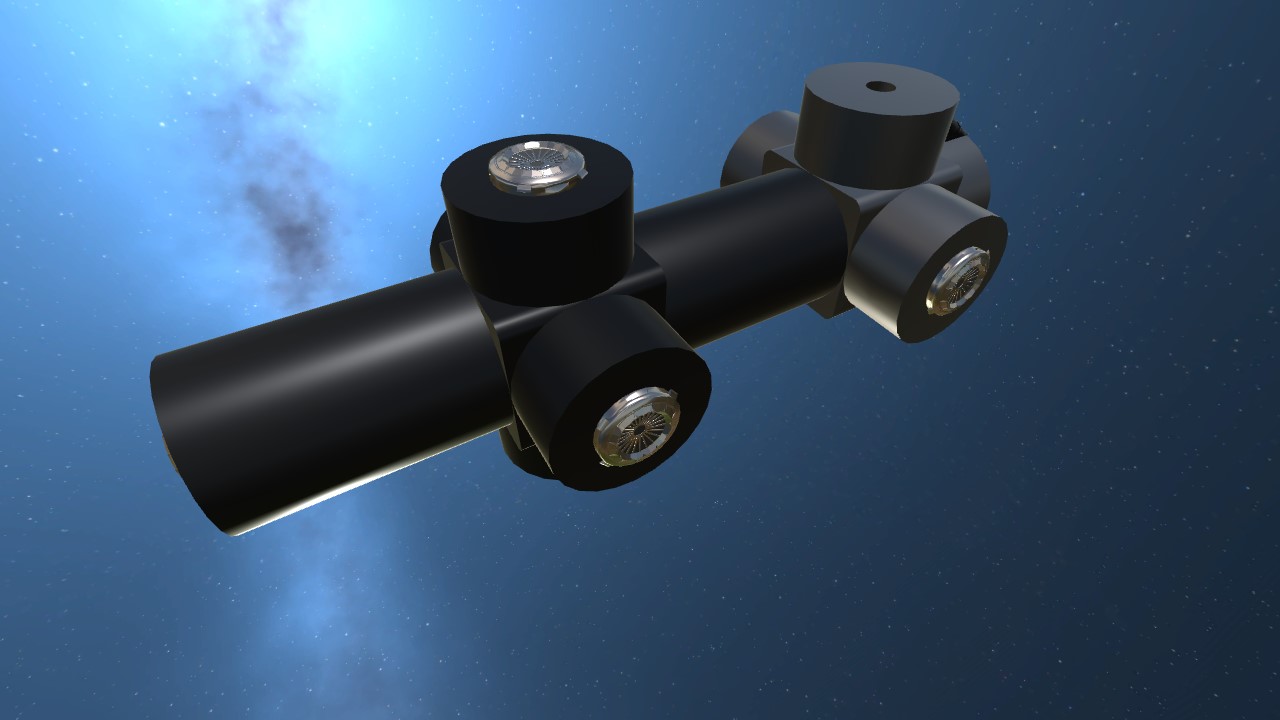
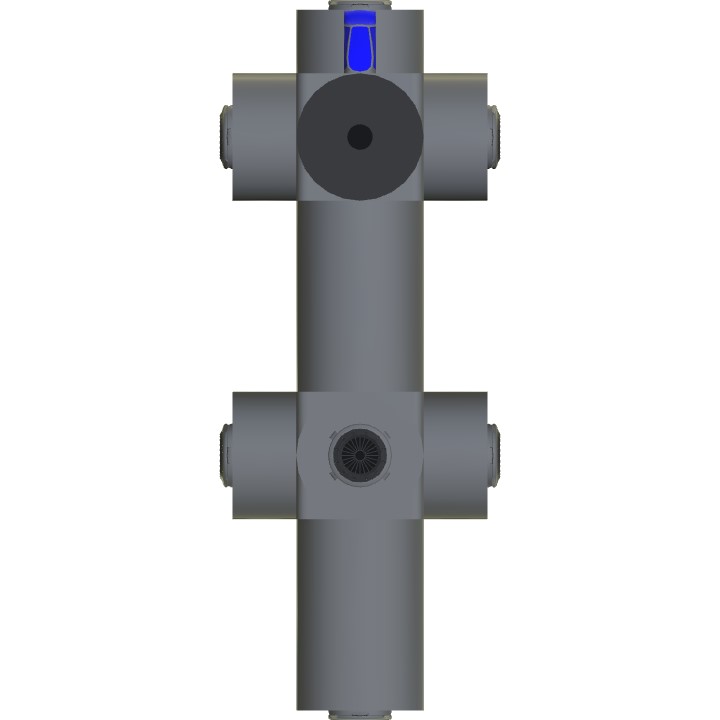
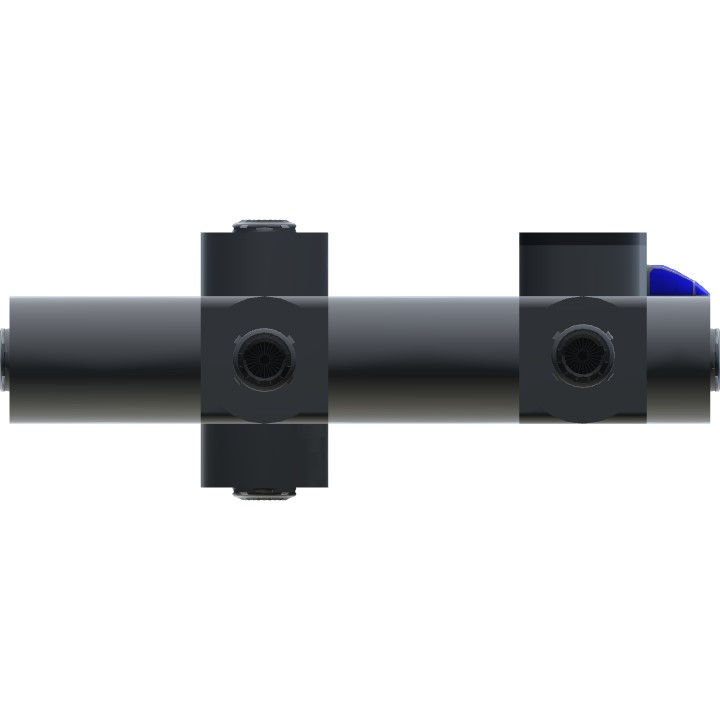
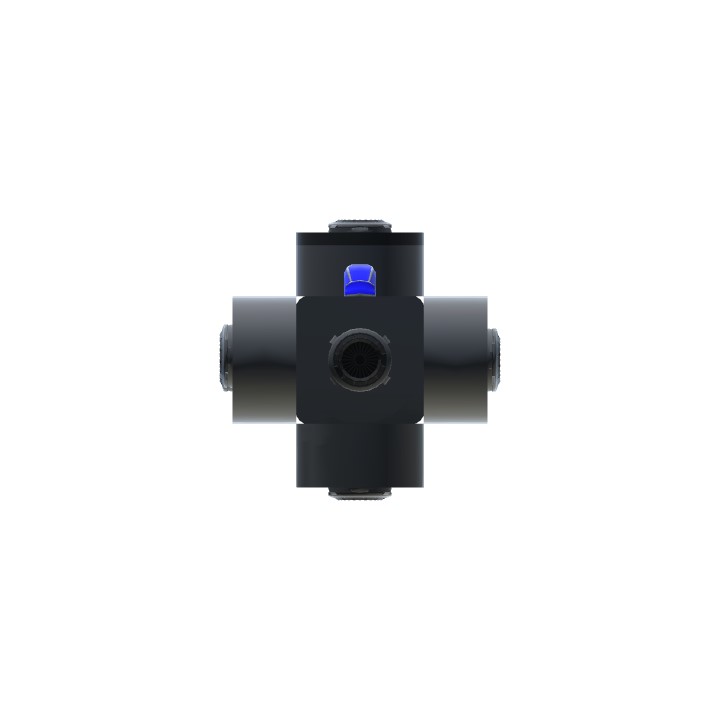
The best way, then, is to build a chassis that is perfectly symmetrical, attach the thrusters to this chassis, get it to fly perfectly, and then add all other structures with zero mass. This keeps the CoM in one position, and we can use the positions of the chassis blocks themselves to set the position of the thrusters.
In this tutorial build, the matte-black blocks are the only parts with mass (massScale = 1), and everything else, including the cockpit, has massScale set to zero. As you can see, the matte-black part forms the symmetrical chassis.
We'll need nine thrusters in all: two each for translation along each axis (X, Y, and Z), two for rotating the ship around the Y-axis (turn left and right), and one to cancel gravity. I've used BFE 150s, scaled down along the Z-axis to make them smaller for convenience. One difference between rocket thrusters and jet engines is that while jet engines take some time to spin up and build maximum thrust, rocket thrusters can be at full thrust instantaneously. To mimic this using SimplePlanes' jet engines, we'll set the max of the engines to 0.01, and multiply the powerMultiplier correspondingly. What changing max to 0.01 does is limit the spin-up time to one percent of its default value. This also reduces the power output to one percent of the default output, so we just change the powerMultiplier until it has enough power for our needs. Meaning, if we want a thruster that's 5 times as powerful as a BFE 150, we'll set its max to 0.01, and powerMultiplier to (100 x 5) 500.
First, we need to cancel the weight of the spacecraft, so that it stays in one place until we use the thrusters. To do this, check the weight of the spacecraft, divide it by the thrust of the BFE 150 engine (33,720 pounds). As we've set the max to 0.01, multiply that result by 100 and set that as the PowerMultiplier for this engine. This engine will now exactly balance the weight of the spacecraft. We want this engine not to be affected by the throttle - it must always be on, always at 100% thrust - so we set its input to "LandingGear". We can also set it to VTOL or Trim, but I'd rather not have an extra slider cluttering up my HUD, especially as we don't want to adjust the thrust.
Install this engine on the lowermost arm of the black chassis. You can copy the coordinates from the cylinder that you're attaching it to.
Add a modded fuel tank with enough fuel and zero mass somewhere. This needs to be zero mass, otherwise, as you use up fuel, the spacecraft will become lighter and tend to float up.
Next, install the six translational engines on the other arms of the chassis. Configure them as below (Note that all engines for this build should have max already set to 0.01):
- Rear thruster (to move forward) -- input: Throttle, invert: false, activationGroup: 1, powerMultiplier: 2000
- Front thruster (to move back) -- input: Throttle, invert: false, activationGroup: 2, powerMultiplier: 2000
- Right thruster (to strafe left) -- input: Yaw, invert: true, activationGroup: 0, powerMultiplier: 1000
- Left thruster (to strafe right) -- input: Yaw, invert: false, activationGroup: 0, powerMultiplier: 1000
- Bottom thruster (to move up) -- input: Pitch, invert: true, activationGroup: 0, powerMultiplier: 1000
- Top thruster (to move down)-- input: Pitch, invert: false, activationGroup: 0, powerMultiplier: 1000
Last, we need to install the two thrusters to turn the ship left and right. These need to be at some distance from the center of mass, so that they can create torque and cause the ship to rotate. You could add these to the forward arm of the black chassis, but to make things clearer, I've added a zero-mass structure (light grey blocks) to attach them to.
These engines need to be configured as follows:
- Turn Left thruster -- input: Roll, invert: true, activationGroup: 0, powerMultiplier: 4
- Turn Right thruster -- input: Roll, invert: false, activationGroup: 0, powerMultiplier: 4
Once you've attached these, you should have a build that matches the one in this tutorial. This is a working spaceship, take it for a test flight.
FLIGHT MANUAL
- Hit the gear button to enable the anti-gravity thruster - remember that anti-gravity is ON when landing gear is RETRACTED.
- Throttle up to enable the forward and rear thrusters (main engines).
- Then use pitch, yaw, and roll to orient and move the ship.
Specifications
General Characteristics
- Successors 2 airplane(s)
- Created On Windows
- Wingspan 14.1ft (4.3m)
- Length 37.1ft (11.3m)
- Height 14.1ft (4.3m)
- Empty Weight N/A
- Loaded Weight 4,521lbs (2,050kg)
Performance
- Power/Weight Ratio 67.096
- Wing Loading N/A
- Wing Area 0.0ft2 (0.0m2)
- Drag Points 14574
Parts
- Number of Parts 24
- Control Surfaces 0
- Performance Cost 583
@YourAlly I think you just click or tap the item then it will show a description.
@SledDriver how do i get the thrust of the BFE150?? Im struggling lol
Awesome tutorial! It's very easy to understand!
@Imagardenhose If you found this useful, you should upvote it.
@Imagardenhose Where should you put what, a gyroscope? It doesn't need additional gyroscopes, it already has one. All you need to add is your zero-mass build around it. Just fuselage blocks and guns etc., no engines or wings.
@Imagardenhose Of course it has a gyro, it wouldn't stay stable without one.
Glad you find it useful, @ChallengerHellcat
Thank you for sharing this technique with us, this has been very interesting new way to look at building spaceships!
@Spectre2520 Yes. Only the chassis can have mass. Anything else added to it that has mass will move the center of mass and throw the whole thing off-balance.
Do I have to set the weight of the engines to 0? @SledDriver
@Spectre2520 Yeah, that sounds right.
It’s a really really long article, but I’ve gone through it, so it’s the specific weight part (chassis) that keep the plane stable and for the hovering is the engine set max to 0.01 so that it will take less time to enter hovering mode and then do the weight of the ship / 33720 (thrust power) * 100, set the input, then place it at the right place on the chassis. I put things into my word to see if I really understand it, am I right? @SledDriver
too complicated for me, I clearly am nowhere near the Einstein level intelligence you sit at
You're welcome, @Ephwurd
Thank you! Very much appreciated :)
Smart
@Ephwurd here you go.