

Introduction
Following on from my previous kit build i thought it was apt that the second build be a jet. Now as always this jet leans heavily on some aircraft I like while adding / altering them to suit what i think would be advantageous alterations. So during the era of the 60s/70s the Mig 25 Foxbat was flying about the SEPECAT Jaguar appeared and loads of other similarly proportioned aircraft went into front line service. So i took the basic layout of the Jag, added much larger engines as the RR Turbomeca engines always looked a bit feable. This alteration combined with a fin from a Crusader (well why not) led to this design.
Stand features
Use VTOL and TRIM to tilt the model about, as per the real one, dont do it too much or crash bang wallop goes your nice model.
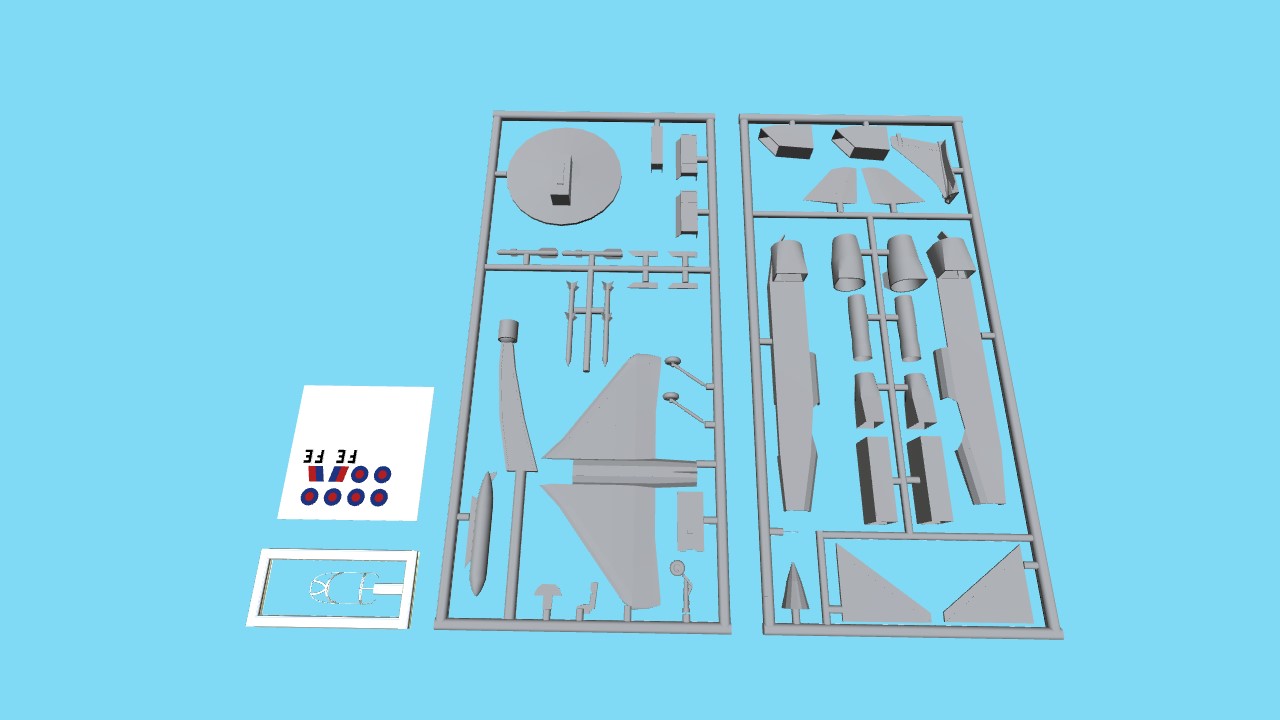
Instructions
You will need to used your scalpel (attachments detacher), glue (hopefully the parts should click into place for you and stay that way), your fingers to nudge the pieces into place (its handy for complicated pieces if you use the nudge tool to nudge the proposed connecting parts up out of the way before multiselecting the part into place)
Step1
Remove the seat, control panel and cockpit floor from the sprue and attach them together


Step2
Remove a cockpit side and attach cockpit into it


Step3
Remove the other cockpit side from the sprue and attach to the first cockpit side


Step4
Remove the engine exhausts from the sprue and install


Step5
Remove the nose from the sprue and install


Step6
Remove the jet engines and their ducts from the sprue and assemble


Step7
Remove intakes from the sprue and attach to engine/duct subassembly


Step8
Remove the remainder of the engine ductwork/fuselage from the sprue and attach to previous subassembly then attach to the fuselage (note nudging highly recomended for this bit)


Step9
Remove wing sections from the sprue and assemble


Step10
Remove the fin from the sprue and attach to the rear of the wing section


Step11
Attach wing to fuselage (again nudging is v helpful here)

Step12
Remove tailplanes from the sprue and attach to the model


Step13
Remove undercarriage bays from the sprue and insert into model (nudgy nudgy)


Step14
Remove undercarriage legs from the sprue and install


Step15
Pitot tube next, dont snap it!


Step16
Remove pylons from the sprue and install onto the nice ready made matching protrusions on the underside of the wing (yeah you heard that SEPECAT, the UNDERSIDE)


Step17
Remove and install the weapons


Step18
Remove and install the droptank


Step19
Remove the completely clear, hard, brittle canopy from its equally hard brittle mold without cutting it (it goes frosted) or snapping it or even just cracking it... and install with minimal amounts of glue (or it goes frosted) dont varnish it (or it goes frosted) careful with maskol as it might not cover what it looks to have covered and it will get painted (which can only be removed with care and attention, dont use turps or it goes frosted, pattern emerging here eh.) I use the same connection as it used to connect it to the sprue to attach to the thin middle panel on the fus, after nudging it up of course..


Step20
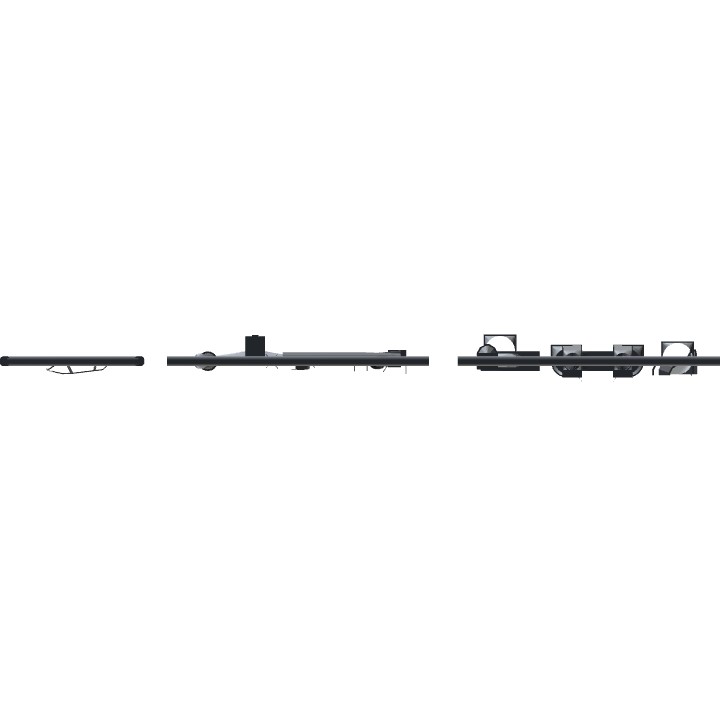
Assemble the stand


Step21
Fit stand and aircraft together

All doneski, now time for pictures before paint and transfers


Step22
Apply paint in a colour you think is remotely similar (note this doesnt necessarily mean use the supplied humbrol paint that bears only a passing resemblance to the colours on the real thing) and apply transfers as shown in these pretty pictures


All done, feel free to make your own whooshing noise as you tilt the plane about on the stand.
Colours
The "Guttersloh" green is as per the below image, i dont think the rest need much explanation. PS any other interesting schemes people may want to paint it in are all acceptable =)

Built model here
And yes it was meant to say PANTHER, my dyslexic fingers however made me type it as if Mike Tyson was saying it...
Specifications
General Characteristics
- Predecessor **CLOSED** Airfix Challenge **CLOSED**
- Successors 1 airplane(s) +7 bonus
- Created On Windows
- Wingspan 90.1ft (27.5m)
- Length 70.9ft (21.6m)
- Height 6.4ft (1.9m)
- Empty Weight 10,435lbs (4,733kg)
- Loaded Weight 10,439lbs (4,735kg)
Performance
- Wing Loading 355.2lbs/ft2 (1,734.5kg/m2)
- Wing Area 29.4ft2 (2.7m2)
- Drag Points 1185
Parts
- Number of Parts 652
- Control Surfaces 0
- Performance Cost 2,064

Um i tried and failed lmao
So what happens if you touch the glass?
@Falkenwut thanks, glad you enjoyed my entries.
Congratulations @RamboJutter, this model has reached 1st place in the Airfix competition!
Scoring:
personal preference - 5pts
challenge of build - 4pts
smoothness - 8pts
game part efficiency - 2pts
pose complexity - 4pts
extra detail - 10pts
kit frame - 10pts
instructions - 23pts
Deductions:
-4 engines nozzle clipping
-2 cockpit glass clipping
I need the the putty. I screwed up my kit. How much does the putty cost?
@TheKraken3 most of it, think the engine nacelles clip a bit.
Do you think it'll work if you 3D printed it and made it irl?
Thanks!
@Dude32 if you click the bit that says "built model here" specifically the "here" bit, it links to the built model
Will someone post the finished project pls?
this is a very very interesting new approach to this game ! its a great amazing work mate!
I think you can put that down to a different RJ ltd consortium - after all I didn’t notice until you mentioned it. I’m not dyslexic (never been tested though :)) but you eyes read what they expect to see most the time anyway. @RamboJutter
@Tang0five thanks 😊 would have been even better if I could type...
Thought you had the challenge in the bag with your first entry, now you’re just showing off :) that airfix box art is awesome, nice touch!
@Lazer22 I do half and half to make most use of the space but thats a bit besides the point, the challenge required a stand or my entry would have been void :)
Tbh I never put my models on a stand irl...
It kinda ruins the realism. I usually just place it on its gear on top of my display table. Love the build keep up the good work:)
Just built the model, it's a fantastic build!! Keep up the good work!
Ur the goat
This is fantastically well done, just like the dozens of Airfix kits I assembled IRL!
very cool would be cool if there was a f14 model build or the p40 and the Zero
Unbelievable. A lot of quality work here. Good job!
Once again, another Excellent Model!!! I will build it up as soon as possible and will score it :)
I will reveal the score once the challenge ends.
This plane is quite beautiful!