
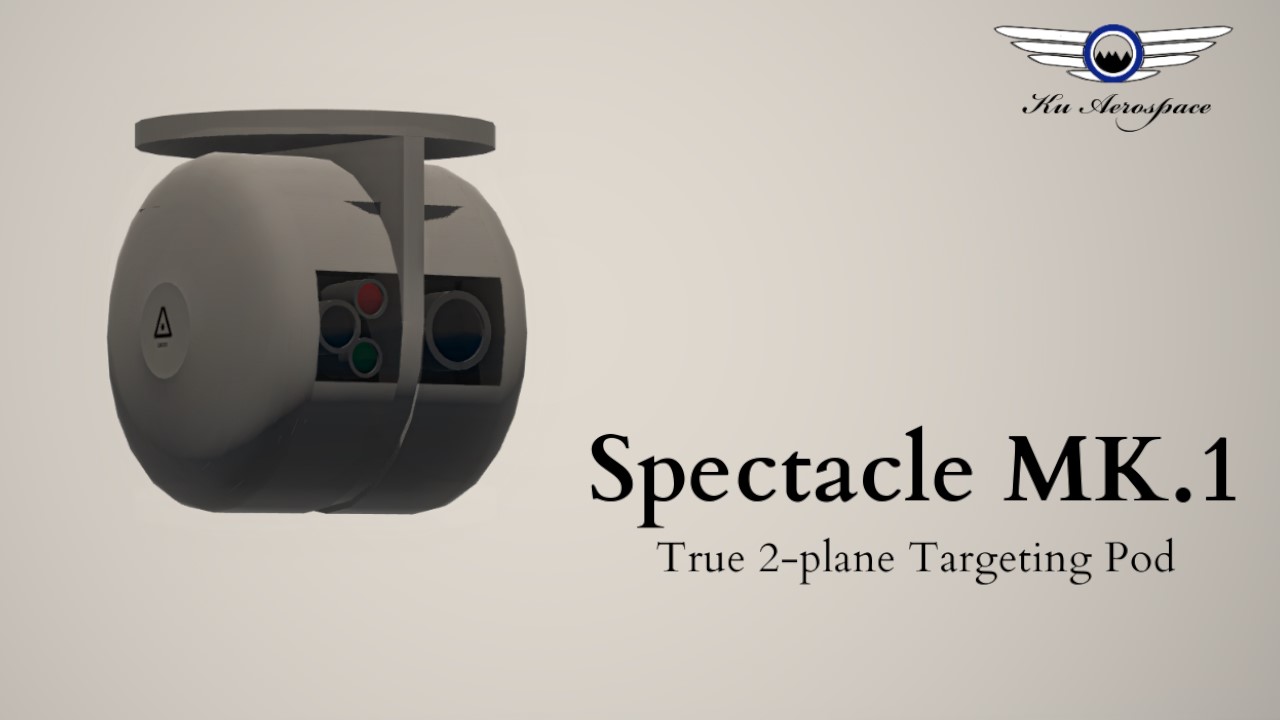
Spectacle MK.1
The very first true 2-plane stabilized targeting pod in Simpleplanes
With only two rotators, this targeting pod can look at anything, anywhere, at any orientation, at perfect azimuth.
Player Installation
READ THIS
- Grab the pod by the red rotator and save as sub-assembly
- Grab the RED flight computer left behind AND ALSO SAVE as sub-assembly
- Put the pod where you want it on your plane
- Copy the two variables and their value, paste it into your variables tab
- (IMPORTANT) DO NOT YET connect the flight computer to anything, use fine tuner to position it in the dead center of the pod
- (IMPORTANT) DO NOT connect the flight computer to moving parts of the pod, connect it to the MAIN FUSELAGE of your plane; it can be anywhere, just NOT ON THE ROTATING PARTS OF THE POD.
- If you have done these steps correctly, your plane now has Simpleplanes most over-engineered and most accurate targeting pod.

Features
- The most accurate targeting pod on Simpleplanes
- The very first true 2-plane stabilized targeting pod
- Perfect azimuth to target every time
- Performance unaffected by aircraft rotation
- Tracking lead compensator to hold azimuth on moving targets
- Designed for bottom mounting on sub-sonic aircraft, drones, and helicopters
- Movement limit: +30 ~ -180 degrees elevation, 360 degree heading
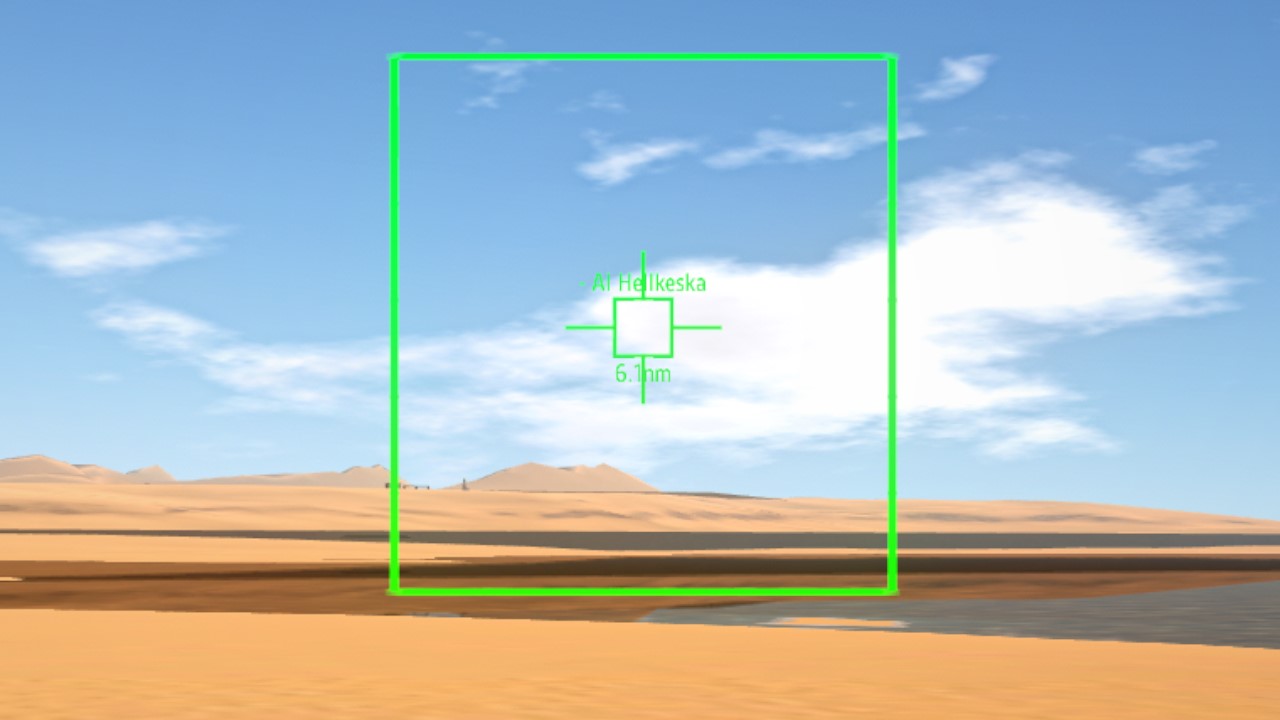
- Minimalist targeting overlay
How it works
Basically
You first take the spherical coordinates that Simpleplanes gives you by default regarding target location and turn it back into Cartesian coordinates (x,y,z, aka Longitude, Latitude, Altitude). You then find out what the target location is with respect to your targeting pod's exact location. Next, you put the coordinates through a rotation matrix to account for all of the aircraft's potential movements. Lastly, you convert them back to spherical coordinates, through the eyes of the rotated frame, and tell the camera where to look.
Due to matrix algebra (linear algebra) being absolutely ass to work with using funky trees, I suspect it being the reason most simply used a third rotator to account for roll and called it a day. However, that's in fact a flawed method and results in wildly inaccurate tracking when the pitch angle of the aircraft approaches +90 or -90 degrees, and becomes untenable if it becomes that value, where roll angle will begin to not know what to do with itself.
Notes
I was under the influence when I decided to tempt the commandments of the universe; math.
I fucking won
Please report any bugs in the comment section or contact me on discord @kuatta4
Specifications
Spotlights
- AtlasMilitaryIndustries 6 months ago
- RicardoACE 7 months ago
- ShinyGemsBro 7 months ago
- SuperSuperTheSylph 7 months ago
- CaptainNoble 7 months ago
- LettuceRob119 7 months ago
- ToeTips 7 months ago
General Characteristics
- Successors 1 airplane(s)
- Created On Windows
- Wingspan 11.5ft (3.5m)
- Length 14.8ft (4.5m)
- Height 14.0ft (4.3m)
- Empty Weight 22,762lbs (10,324kg)
- Loaded Weight 22,762lbs (10,324kg)
Performance
- Wing Loading N/A
- Wing Area 0.0ft2 (0.0m2)
- Drag Points 2135
Parts
- Number of Parts 60
- Control Surfaces 0
- Performance Cost 194

@imthepianoman This also happened to me, you've gotta add both the Targeting POD and then the computer (but don't connect it yet). Then you put the values in the variables tab and there you have it, I committed the same mistake as you.
@Ku I did follow the instructions. I copied the variables from the download into my plane. It's still giving me an error.
@Unwanted ofc
@imthepianoman Because you didn't follow my instrcutions
When I try to save your variables I get "Variables Error: Name not defined: podPitch"
Any ideas?
May I use?
apache ahh flir
@Ku tbh i haven't tested your build yet, but the problem of roll angle giving wrong values close -90 or 90 pitch angle could be handled by removing the horizontal component of the camera part's UP (possibly Y axis? haven't checked) vector using "exclude" or "project" in funk and then comparing that with an always UP vector like gravity using "signedAngle" to get a signed angle aswell.
@TritonAerospace expand on that…
i think you can flatten the camera's y axis on the gravity vector and compare it to gravity angle to achieve true roll angle at any craft orient. without matrices.
@Ku Sounds good, thanks!
@AtlasMilitaryIndustries yes it’ll be alright. Ur always free to use anything so long as u credit me.
@Ku Would it be alright if I used you camera pod on a drone I plan on posting?
@Warwolf182 basically you are going to go to your plane and make the variable menu have the exact same things as the variable menu of the pod when you first download it. So copy the name (left side of the variable box) and the expression (right side of the box) from the pod, then go to your plane, and copy in the name and the expression.
Step 4? Hi mate!, Your Pod looks amazing, But I have a ME issue...I don't understand where and on which piece to COPY the 2 variables and where to put them. I'm a little confuse and I'm not verry good with variables, your or anyone help would be verry appreciate! Thanks!
@Thatmililitaryguy u must’ve accidentally not copied the entire variable expression. Try copying it again
@Ku variable error stack empty
@Thatmililitaryguy What do u mean by variable stack?
How do I fix the variable stack when I input the variables?
This is really cool, I'm just finishing up a very similar project but for anti-aircraft/tank turrets and I have to agree that the linear algebra is tricky to work out! It would be awesome if FT had support for vector/matrix data types/structures/functions (something similar to MATLAB) because that would make projects like this a lot more straightforward. Maybe if @AndrewGarrison hears us we can get a funky trees overhaul for SP2...
very nice
Excellent work, did a good job.
You're finally getting the recognition and attention you deserve.
I still remember how you made these insane FT weapons without using stock mechanics and didn't get any more than 10-15 upvotes.
.
Look at you now, hitting the front page. It feels really good to see someone really capable get what they deserve.
.
Please. Keep at it.
@QuesoAirlines or just dont double click the part and open its editor menu at all when moving it to avoid this problem
@QuesoAirlines So the reason it did that is not necessarily because you clicked it, but you double clicked to open the modify menu. The degree range on the rotator is precisely 1 degrees, and if you open the default part editor (the menu that comes on on the left side of the screen) the game won't be able to process that I only want it to turn 1 degree and so it makes the range 0 degrees, which is free spin.
To properly fix that you should've opened fine tuner and change the range back to 1 degree and speed back to 1.