

First I wanted to build a very big craft with a fully functional under water drive without any pistons gyros or jets. After I had accomplished that I decided that it needed a control room.
It needs the ocean mod to work!!!
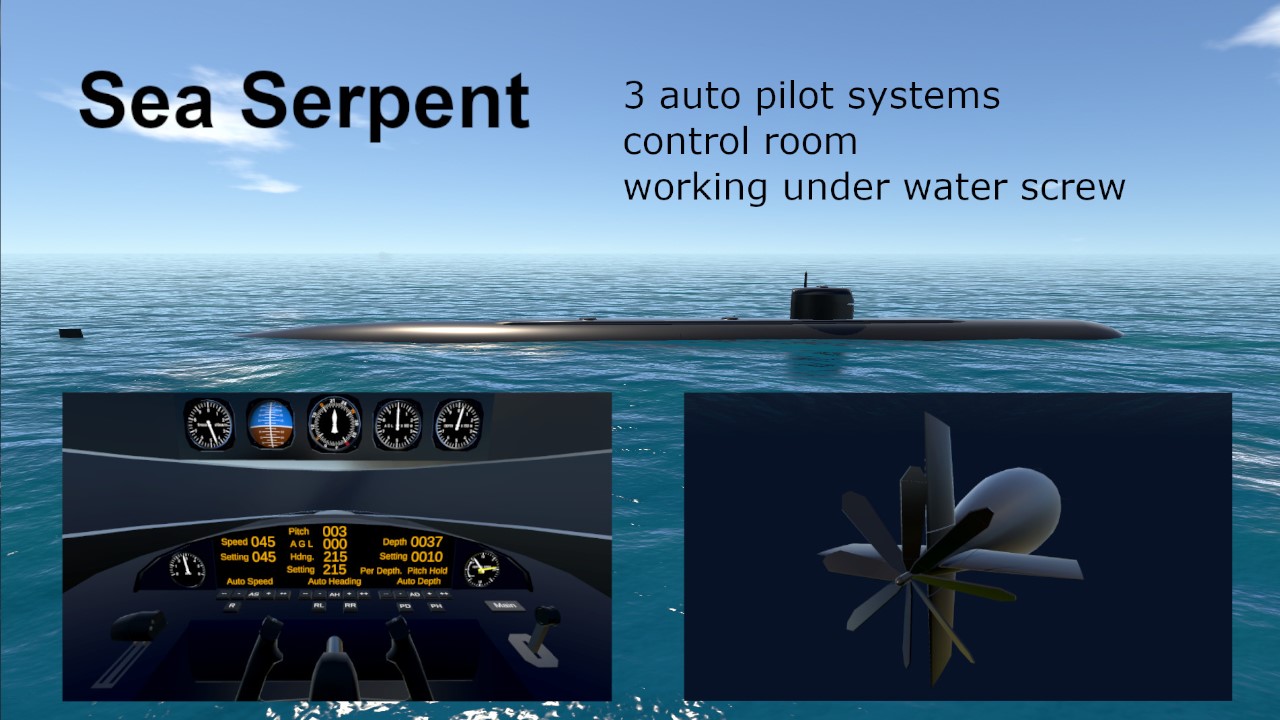
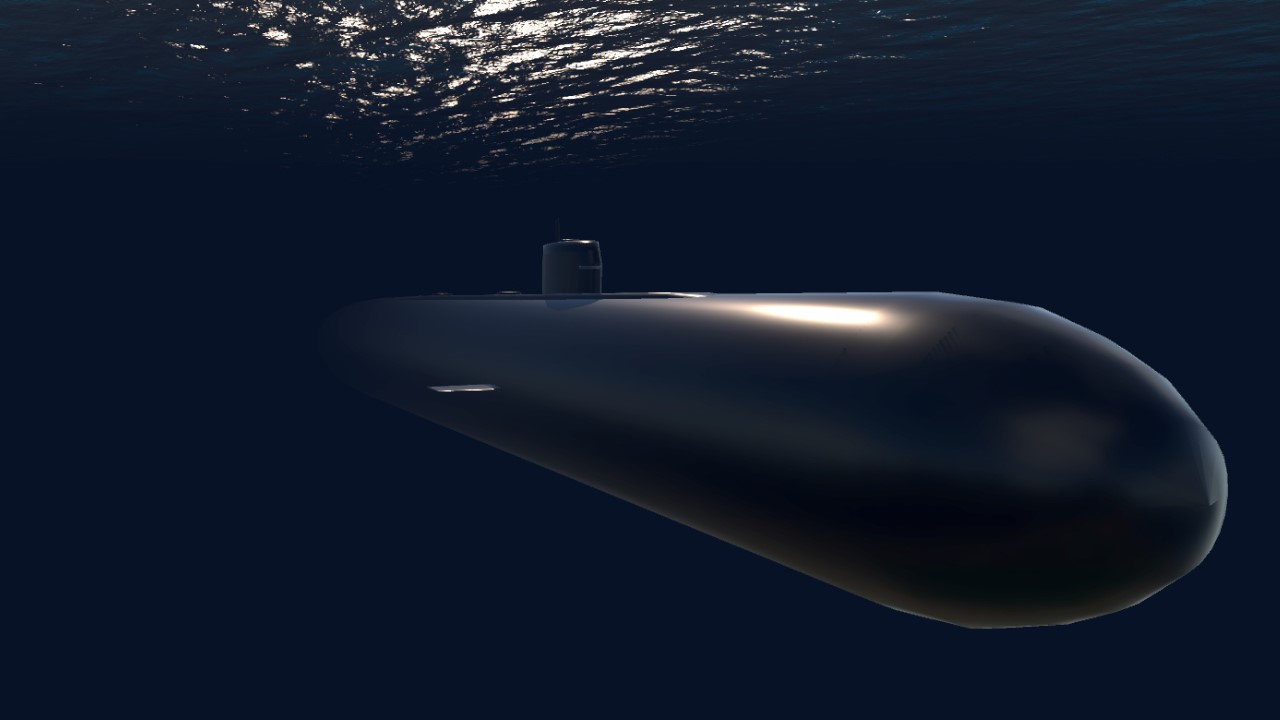
The Sea Serpent is no replica but could be considered an experimental military submarine to test out and improve new developments. It can reach speeds up to 100 km/h on the surface and 75 km/h submerged. It has three autopilots for depth, heading and speed.
How to operate:
Best spawn point is “Water Takeoff”.
Press F8 to switch to the cockpit camera. Switch off the SP HUD – you will not need it!
The buttons have tooltips for explanation.
F1 switches to the periscope camera.
The periscope can be extracted and retracted with Activation Group 1.
IMPORTANT: The auto pilots only work when the submarine is at speeds above 20 km/h.
All three auto pilots can be switches on and off independently.
You can for example control the heading by hand and let Sea Serpent handle depth and speed.
A good maneuvering speed is abt. 45 km/h.
All displays are metric.
Here is the Manual:
The gauges on top from left to right:
Speed, artificial horizon, compass, distance to ground and depth.
Switch the craft on with “Main” (right side of the dashboard).
The right area of the dashboard is designated to depth control.
The small gauge on the right shows the vertical speed and the trim setting (yellow needle).
“Depth” on the digital display shows the depth and “Setting” below that shows the depth setting.
Enter the desired depth with the + an – buttons near the button marked “AD”.
Press “AD” to switch on Auto Depth. “PH” enables “Pitch Hold” which keeps the sub level and “PD” (when “Auto Depth” is on) brings the craft up to periscope depth. Pressing “PD” again lets the craft go to the entered depth.
Use the trim lever to control diving and surfacing by hand.
The middle of the dashboard is designated for heading control.
The center area of the Display shows pitch, A G L (which is the distance to the ground), heading and the setting for the heading. Enter the desired heading with the + and – button near the button marked “AH” and switch on “Auto Heading” with that button.
Depending on which auto modes are on, the sub can be hand steered with the yoke.
Buttons “RR” and “RL” allow for course corrections when not in “Auto Heading”.
Activation Groups 2 and 3 can also be used.
Because this is a very big vessel, the reaction to the any input is slow.
The left area of the dash is designated to speed control.
“Speed” shows the speed and “Setting” below shows the entered speed setting.
The left gauge shows the engine RPM.
Enter the speed with the + and – buttons near the button “AS” and activate “Auto Speed” with that button.
Button “R” is for reverse.
You can control the speed by hand with the throttle lever on the left side.
…
If you have read all of this, consider yourself a hero :)!
…
Enjoy …
Specifications
General Characteristics
- Created On Windows
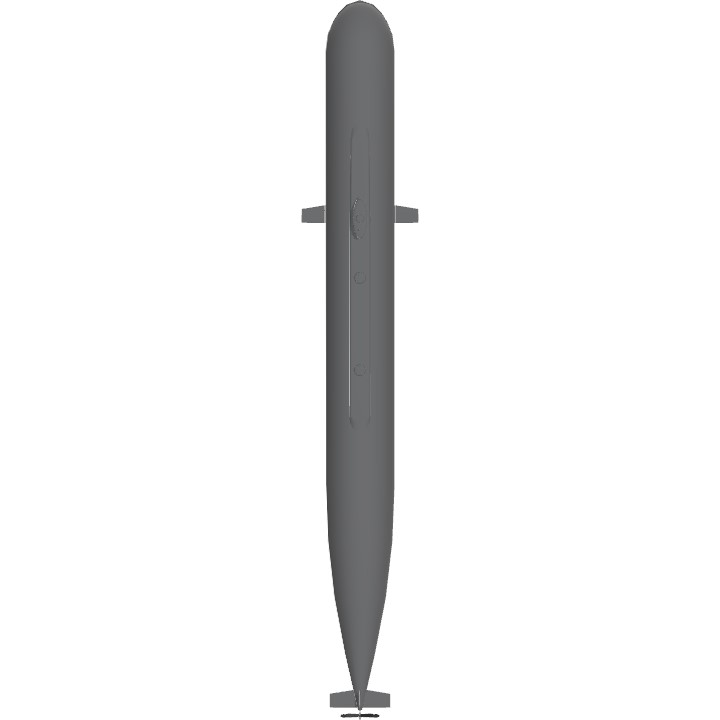
- Wingspan 82.9ft (25.3m)
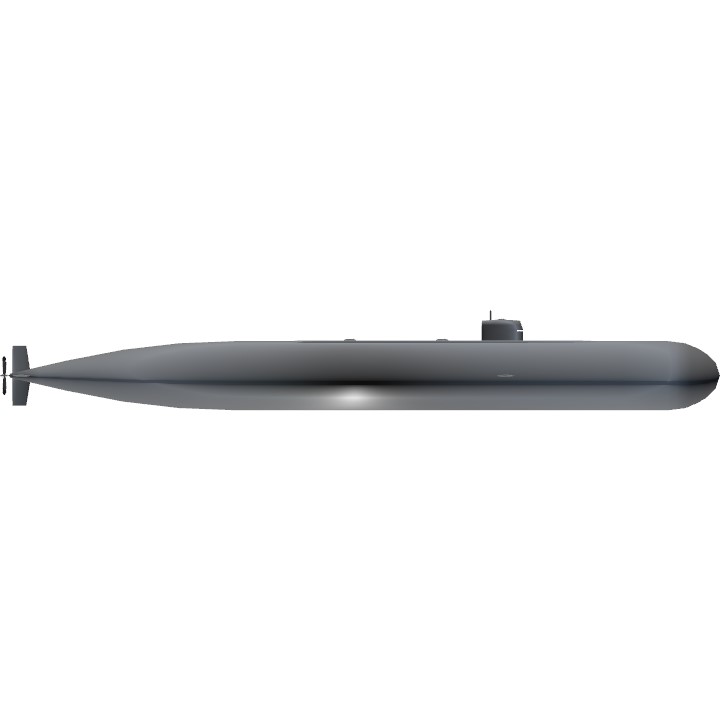
- Length 511.9ft (156.0m)
- Height 71.5ft (21.8m)
- Empty Weight 37,916lbs (17,198kg)
- Loaded Weight 37,916lbs (17,198kg)
Performance
- Wing Loading 8.1lbs/ft2 (39.6kg/m2)
- Wing Area 4,677.9ft2 (434.6m2)
- Drag Points 8590
Parts
- Number of Parts 210
- Control Surfaces 0
- Performance Cost 1,356

For submarine and such stealth works like this, the most important things are not the instrument panel.But you still remind everyone by this work, very good. :)
@TRD6932 unfortuantely not - the cameras dont't work under water...
Can you view the cockpit with no mods and submerged?
Hello